WordPress is a content management system (CMS) that allows you to create a website or blog from scratch, or improve an existing website. The first thing you need to do is choose a hosting provider and register a domain name. Once you have done that, you can download the WordPress software and install it on your web server. Installing WordPress is a simple process that takes less than five minutes to complete. However, before you begin, you will need to have the following items:
Here are the steps to Install WordPress Manually Using FTP
➢ A domain name (this will be the address of your website)
➢ A web hosting account (this is where your website lives on the internet)
➢ FTP access details for your web server (this will allow you to transfer the
WordPress files from your computer to your web server)
1. Download WordPress
To start, visit wordpress.org and click on the “Download” button. This will take you to the latest stable release of WordPress, which is currently latest version
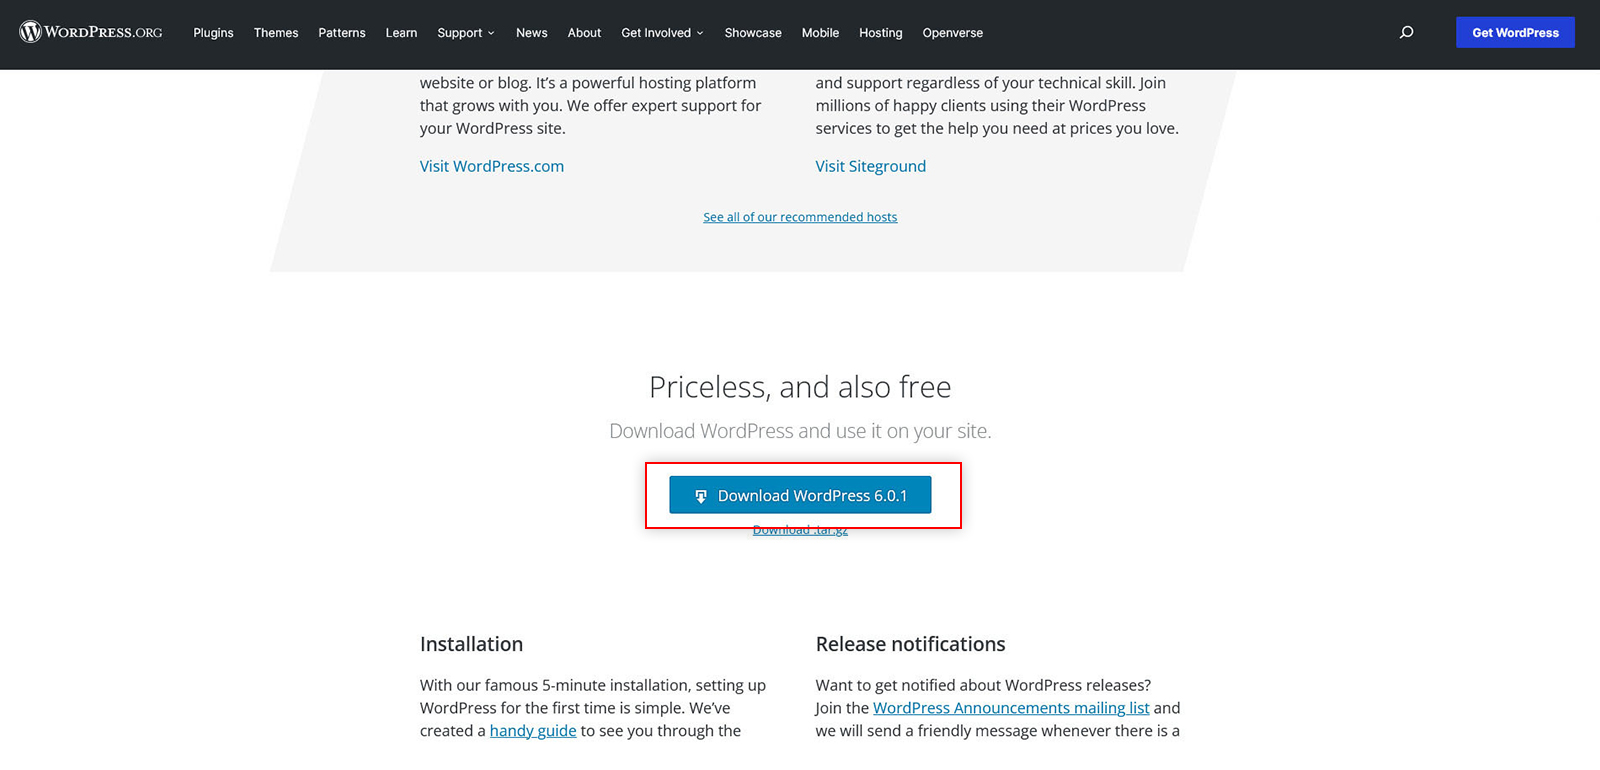
Find the blue “Get WordPress” button section and click it.
This will save the WordPress .zip file to your computer’s download location.
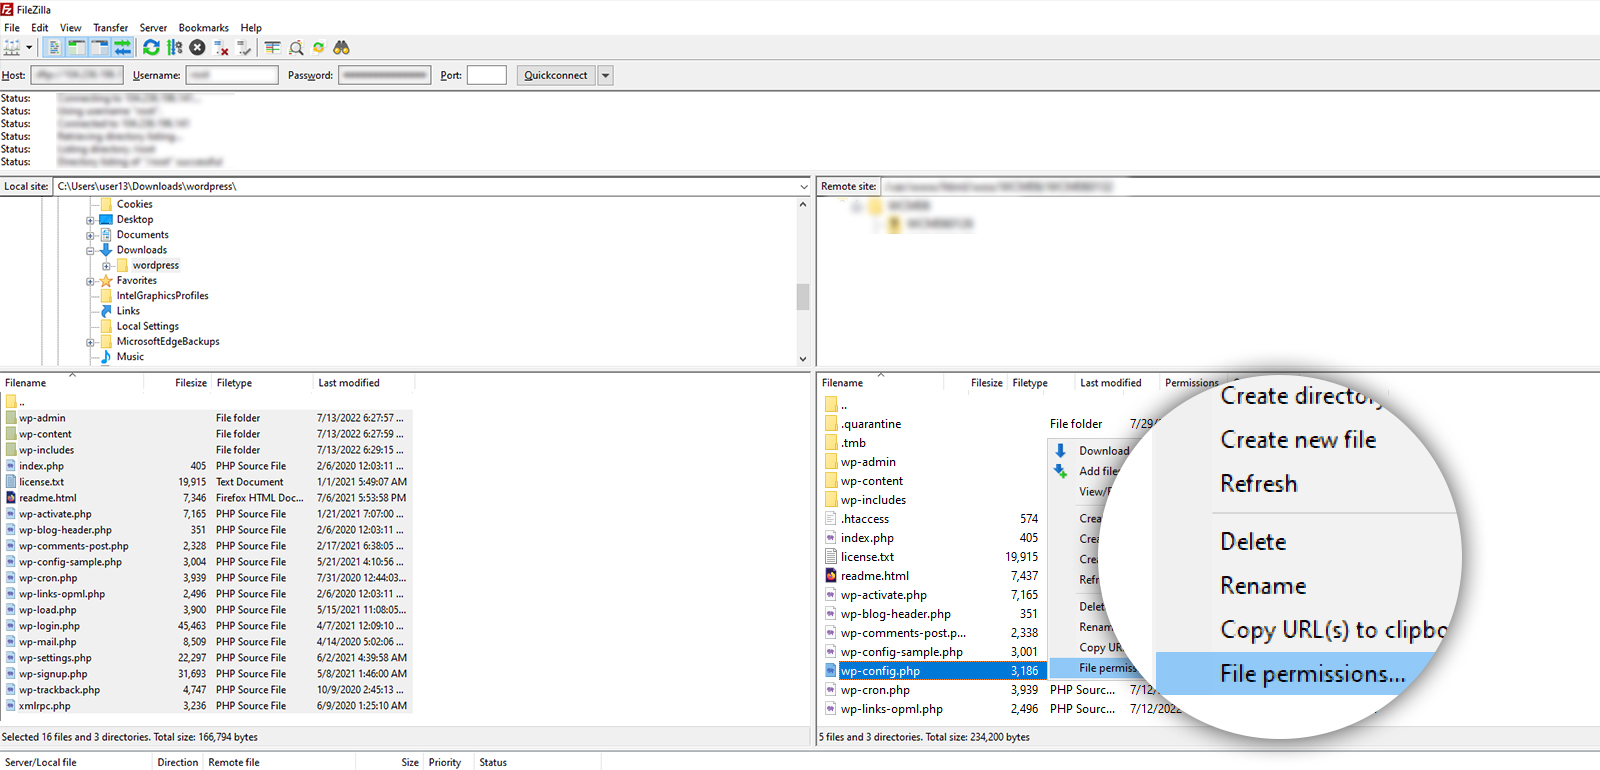
2. Upload WordPress to your hosting server using FTP
Next, use an FTP program (FileZilla is a good free option) to connect to your web server and upload the WordPress files from your computer to your web hosting account’s public_html folder (or any other folder where you want to install WordPress manually ).
Once the files are uploaded, you can proceed with creating your database and install WordPress manually !
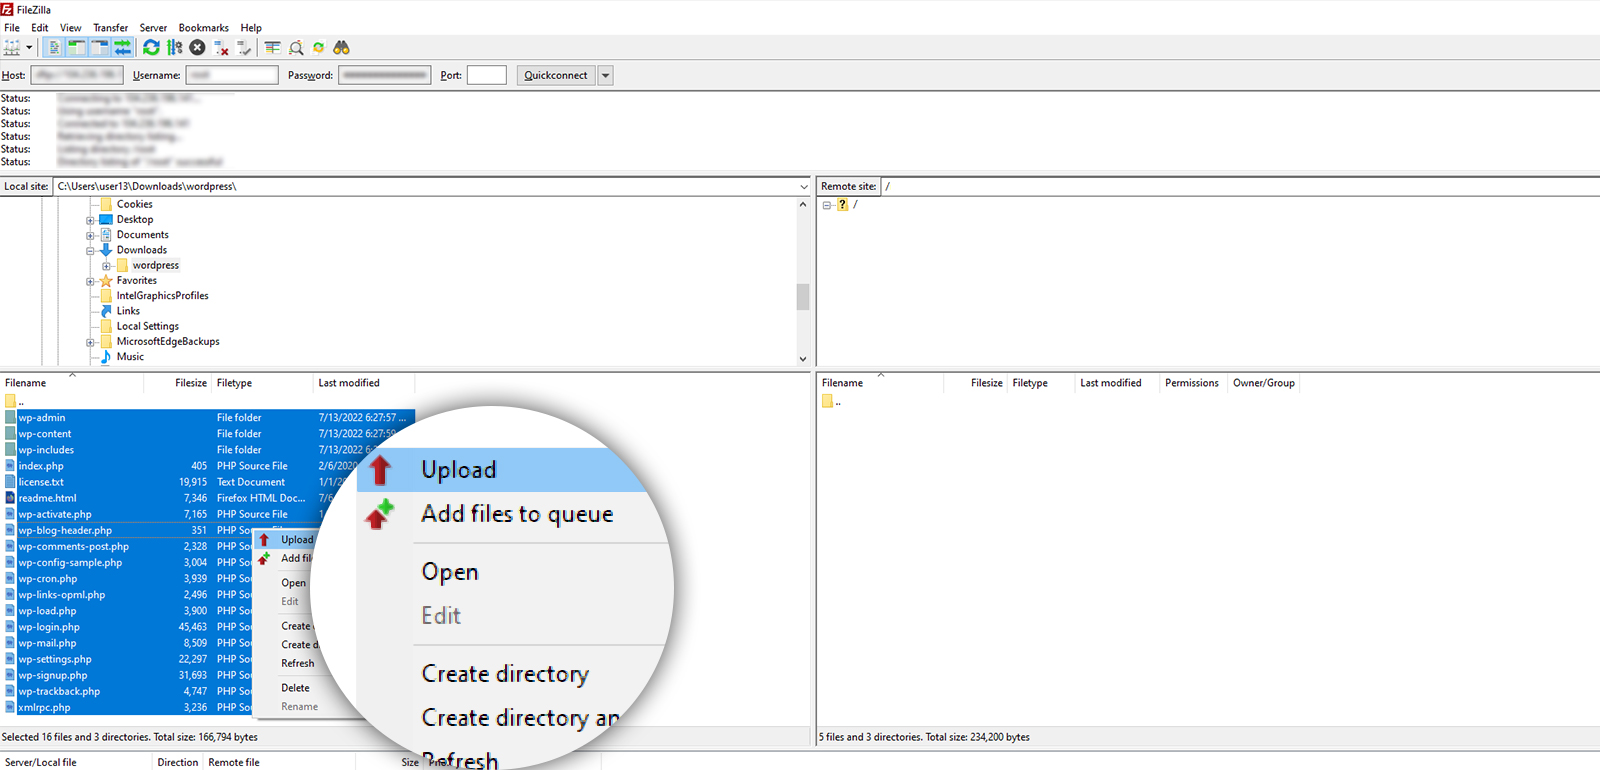
If your file is not in readable format, you need to provide permission. Look at the screenshot below.
3. The next step is creating a MySQL database for your WordPress installation.
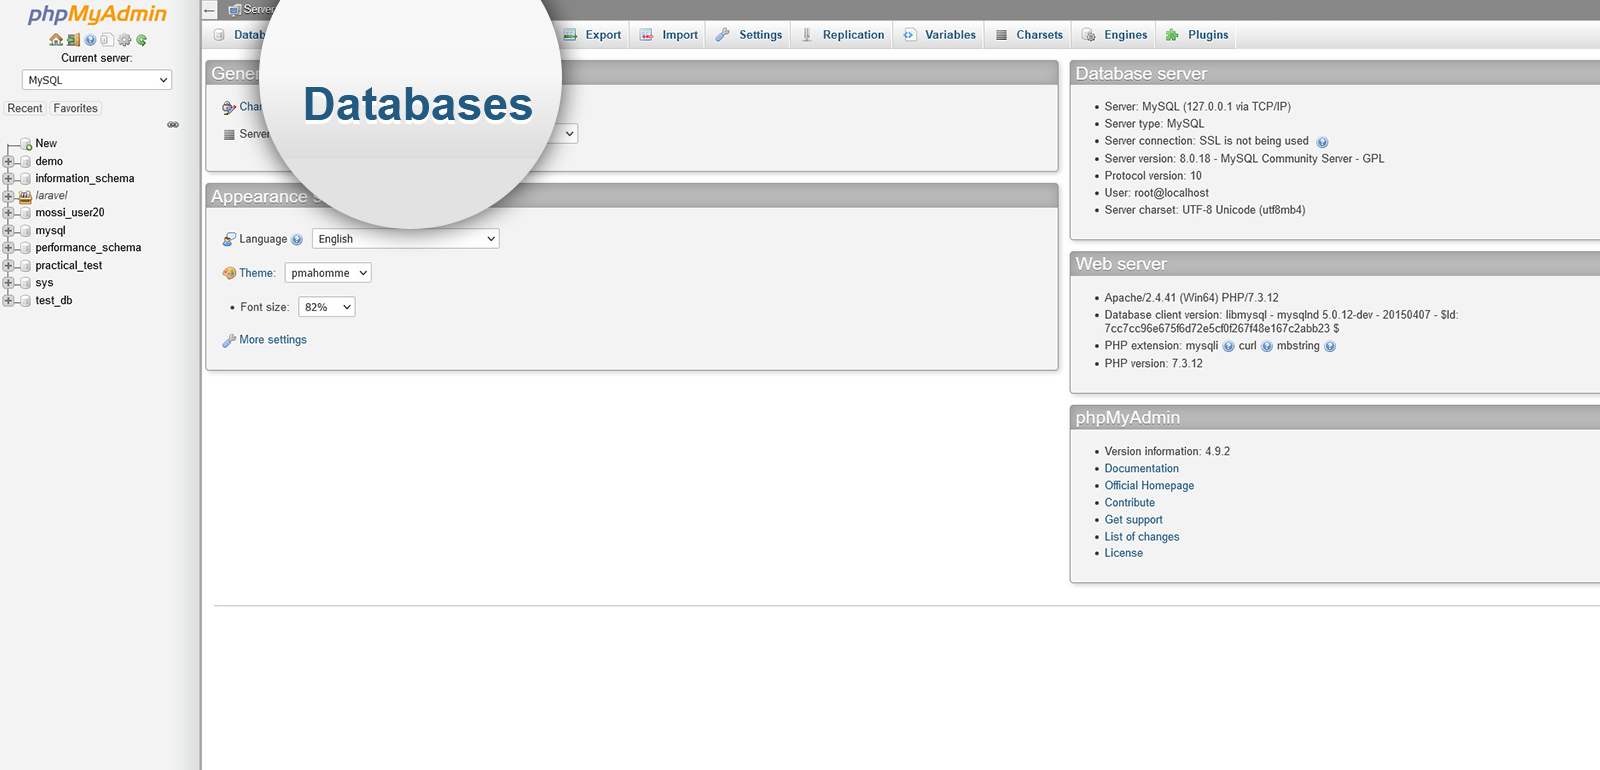
3.1 – To create database, login in to your phpMyAdmin account.
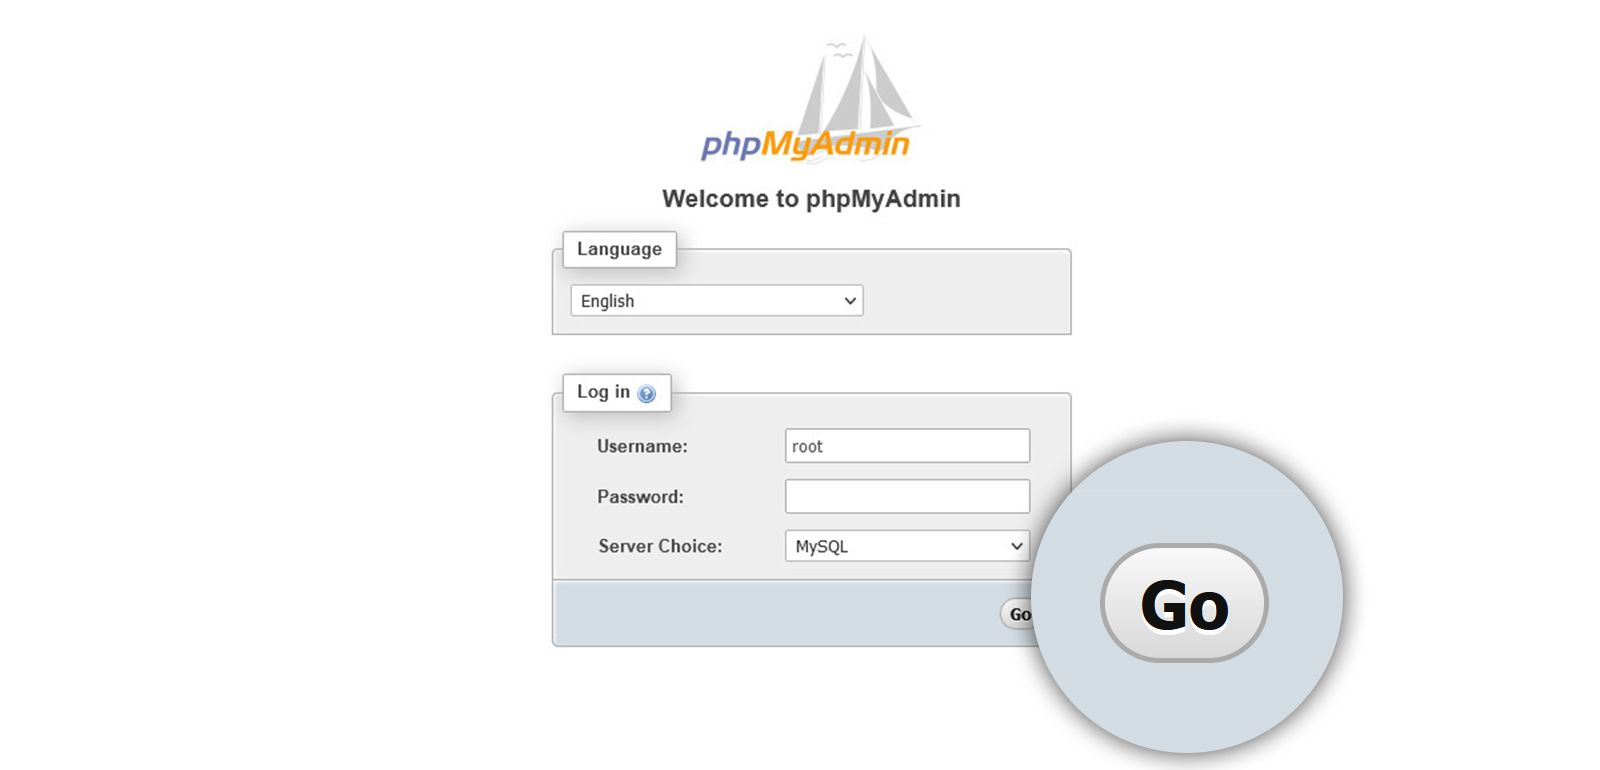
3.2 – Select Create a Database and then Next Step to get started creating your database. Look at the top left of the phpMyAdmin screen and you’ll see a database tab. Simply click it to create a new database.
3.3 – Add User to Database (if you haven’t created already), select the All-privileges option and then click Next Step.
(Create Your database: Enter the name of the database, then click the Create button.
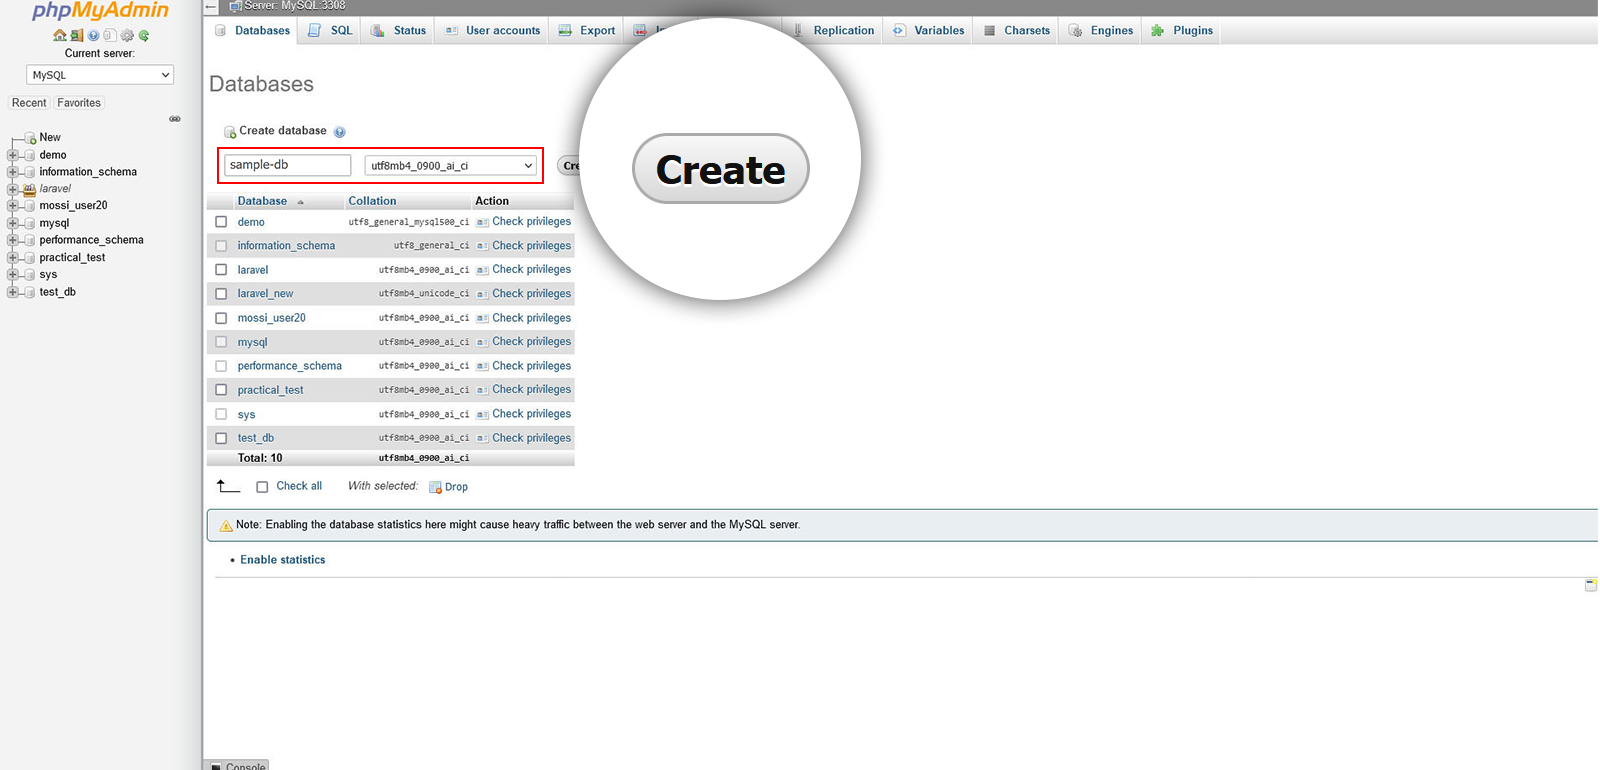
3.4 – After you have finished the task, you should make a note of the database name, as well as the login and password, since you will need them for step 4. These step is necessary as we install wordpress manually from via FTP.
4: Run the WordPress installation
You will need to open a new browser window, input your domain, and execute the script. For example, if you deployed the script on your server, you will be routed to one of these URLs:
A redirect should appear if WordPress was placed in the domain root folder.
https://example.com/
If you installed WordPress to a subdirectory of your domain’s directory, the URL would look like this:
https://example.com/yoursubfolder/
5: Complete the WordPress Installation
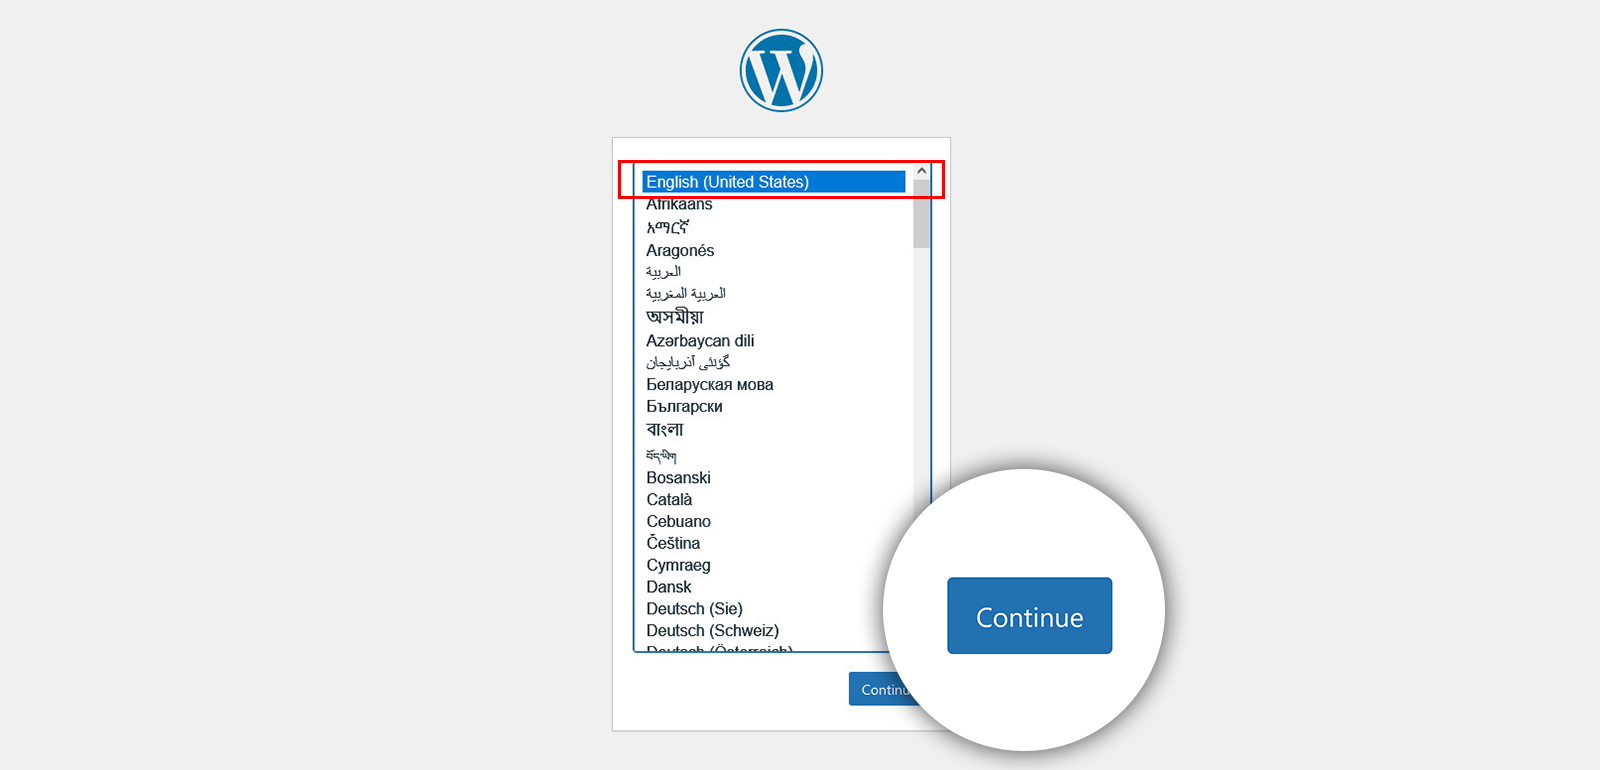
When you go to your right WordPress URL in a browser, you will be prompted to pick your desired language. Choose your favourite language and then press the Continue button.
In a subsequent stage, you will be provided with a window in which you must enter the necessary database information.
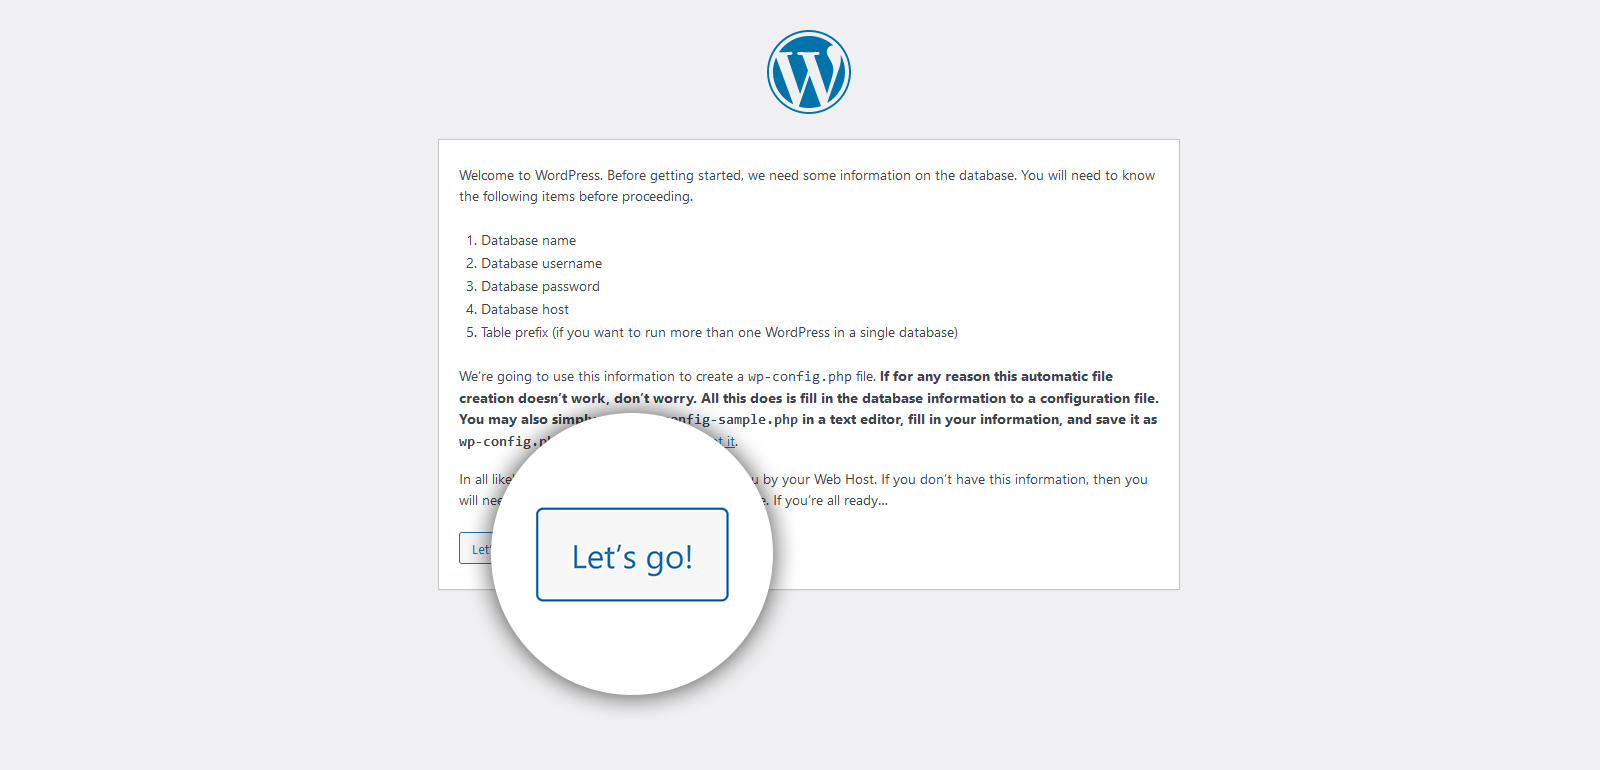
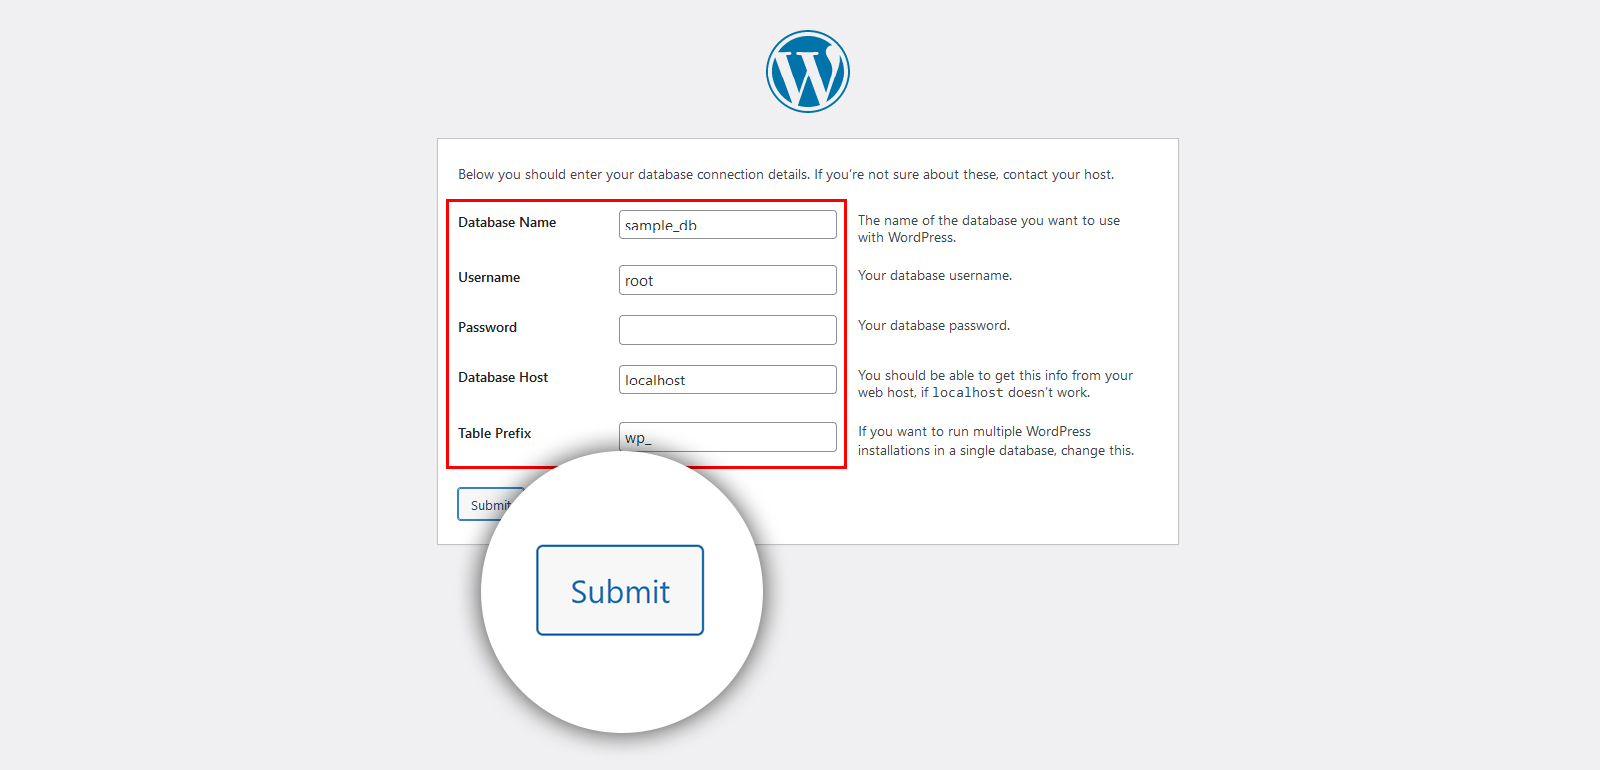
This page should read, “Welcome to the famed five-minute WordPress installation procedure!” Fill out the following fields under the Information required section:
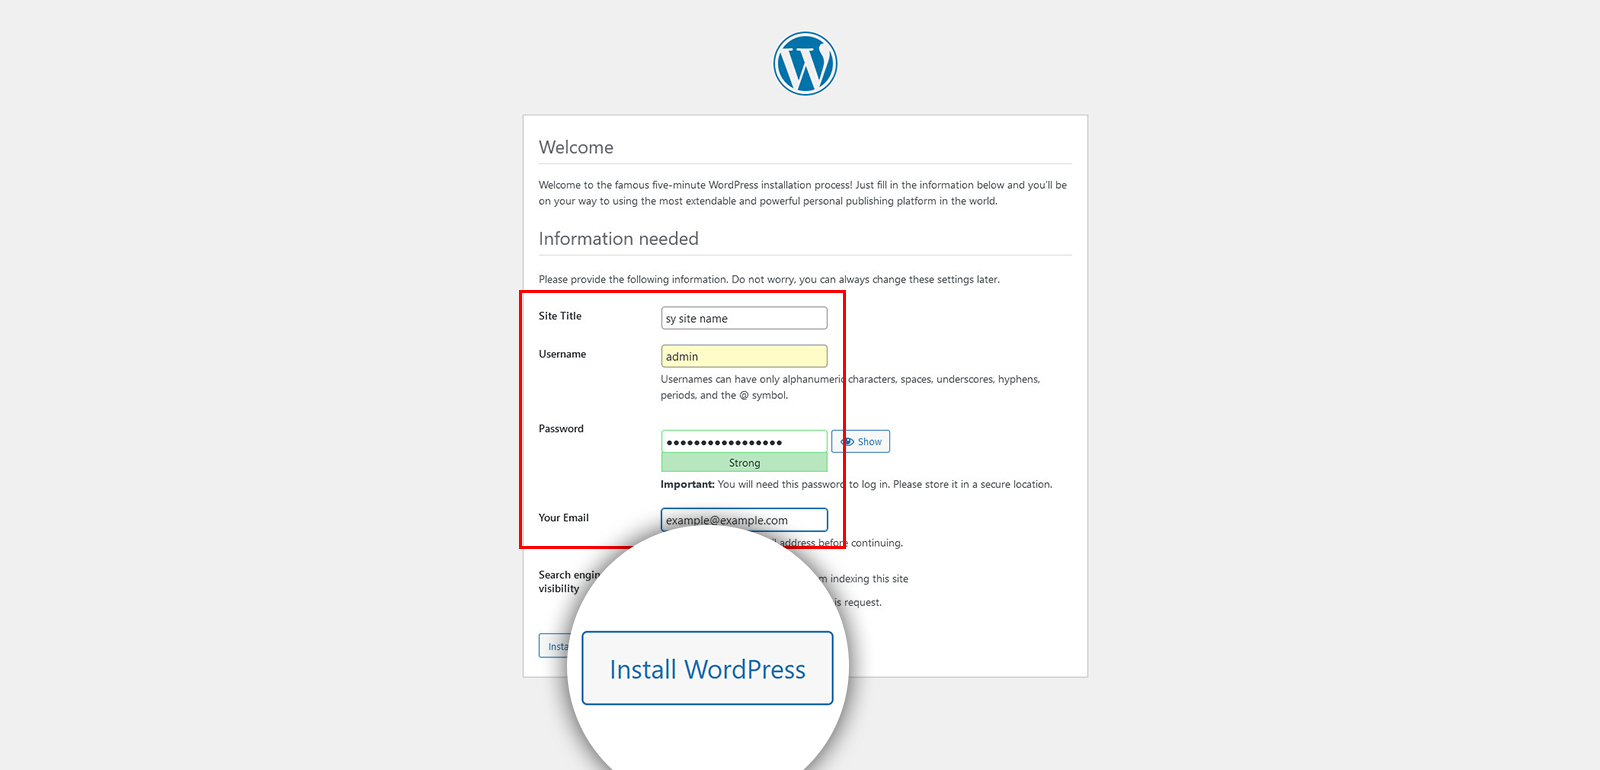
6. Fill in the required documents.
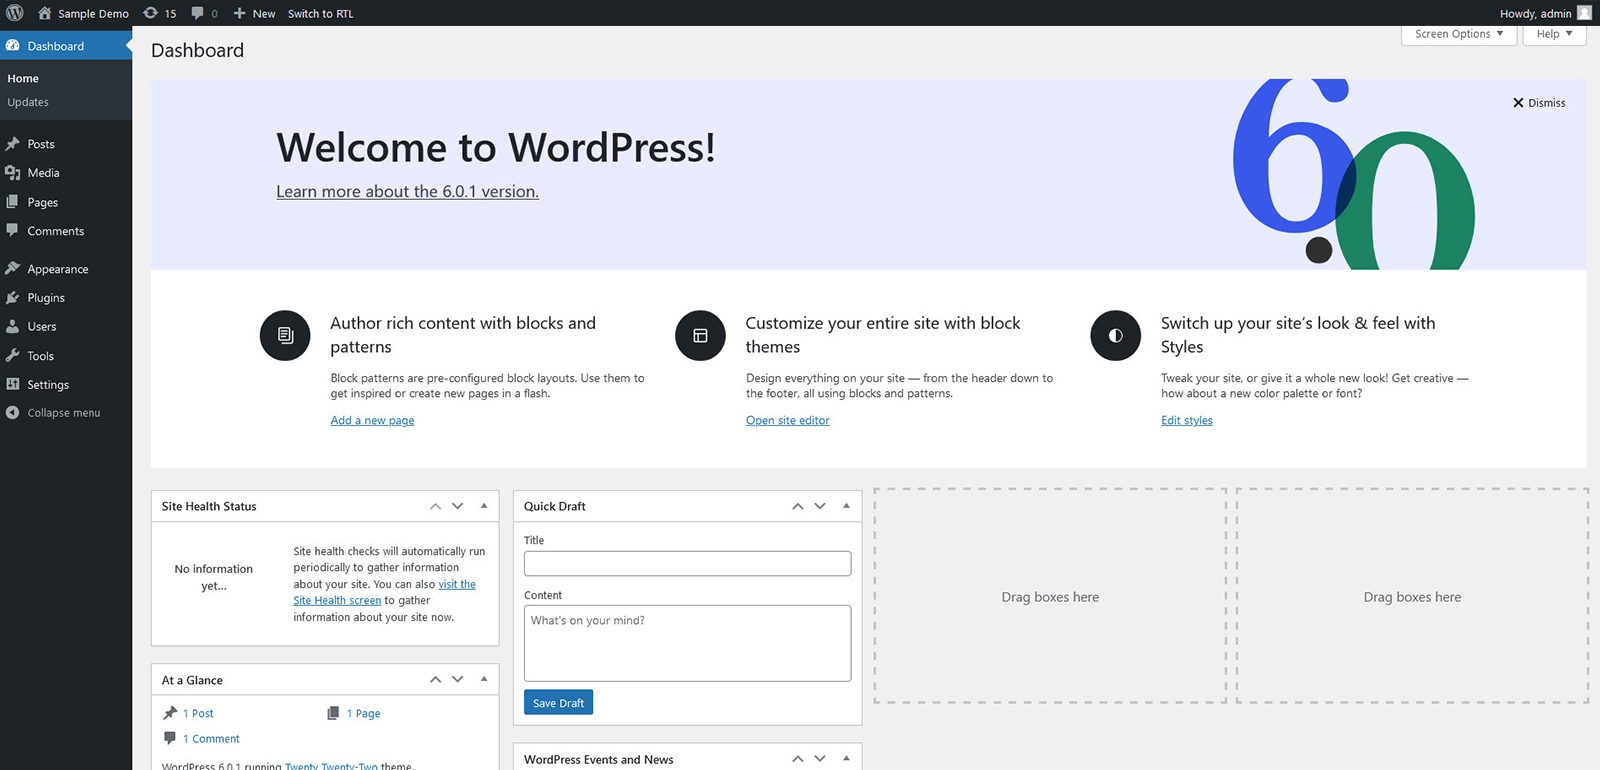
When you click the Install WordPress button, you should be directed to the last page, which states, “WordPress has been set up. Thank you, and have fun! “. It will show your login and a password field. To begin developing your site, click the login button to access the WordPress Admin Dashboard.

Now you can check the front-end view
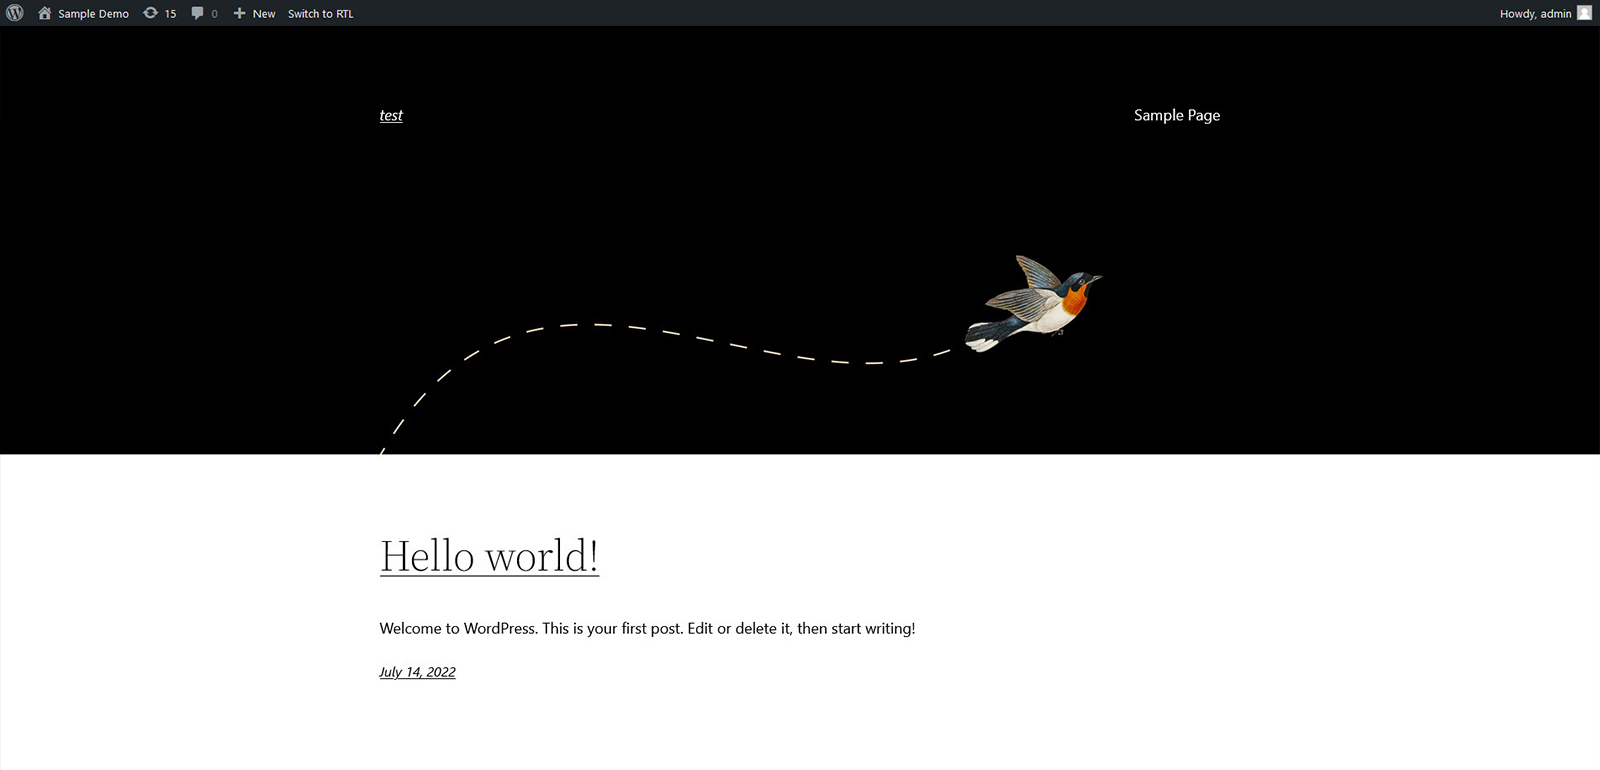
We’re done! The WordPress is installed successfully. Now, you’re all set to customize it according to your needs! This is the easiest way to install WordPress manually.